

In today’s fast-paced world, having a quick and healthy snack on hand is essential for staying energized throughout the day. Whether you’re heading out for a hike, need a post-workout fuel, or simply want a healthy treat, homemade snacks like energy bars are a fantastic option. Among the most popular and beloved energy bars is the Clif Bar, a convenient and nutrient-packed snack that provides a good mix of protein, carbs, and healthy fats to fuel your body. But what if you could make a homemade version of the Clif Bar, tailored to your tastes and dietary preferences?
In this article, we will guide you step-by-step on how to make a Homemade Clif Bar, also known as DIY Granola Bars, right in your own kitchen. These bars are not only a healthier alternative to store-bought options, but they are also customizable, allowing you to experiment with different ingredients to suit your needs. Whether you prefer a nutty, fruity, or chocolatey flavor, the possibilities are endless!
Why Choose Homemade Clif Bars?
Before we dive into the recipe, let’s take a moment to understand why you might want to make your own Clif Bars or DIY Granola Bars. Clif Bars are a popular snack due to their balance of essential nutrients that keep you full and satisfied. However, store-bought Clif Bars can often be expensive, and sometimes they contain added sugars or preservatives. By making your own Homemade Snacks, you have full control over the ingredients, ensuring that you are eating something wholesome, nutritious, and free from unwanted additives.
Another great benefit of homemade bars is the ability to cater to specific dietary needs. Whether you’re gluten-free, vegan, or simply prefer organic ingredients, you can make these energy bars fit your lifestyle. Plus, they are incredibly easy to make in batches, so you’ll have a stash of Homemade Clif Bars ready whenever hunger strikes!
Key Ingredients for Homemade Clif Bars
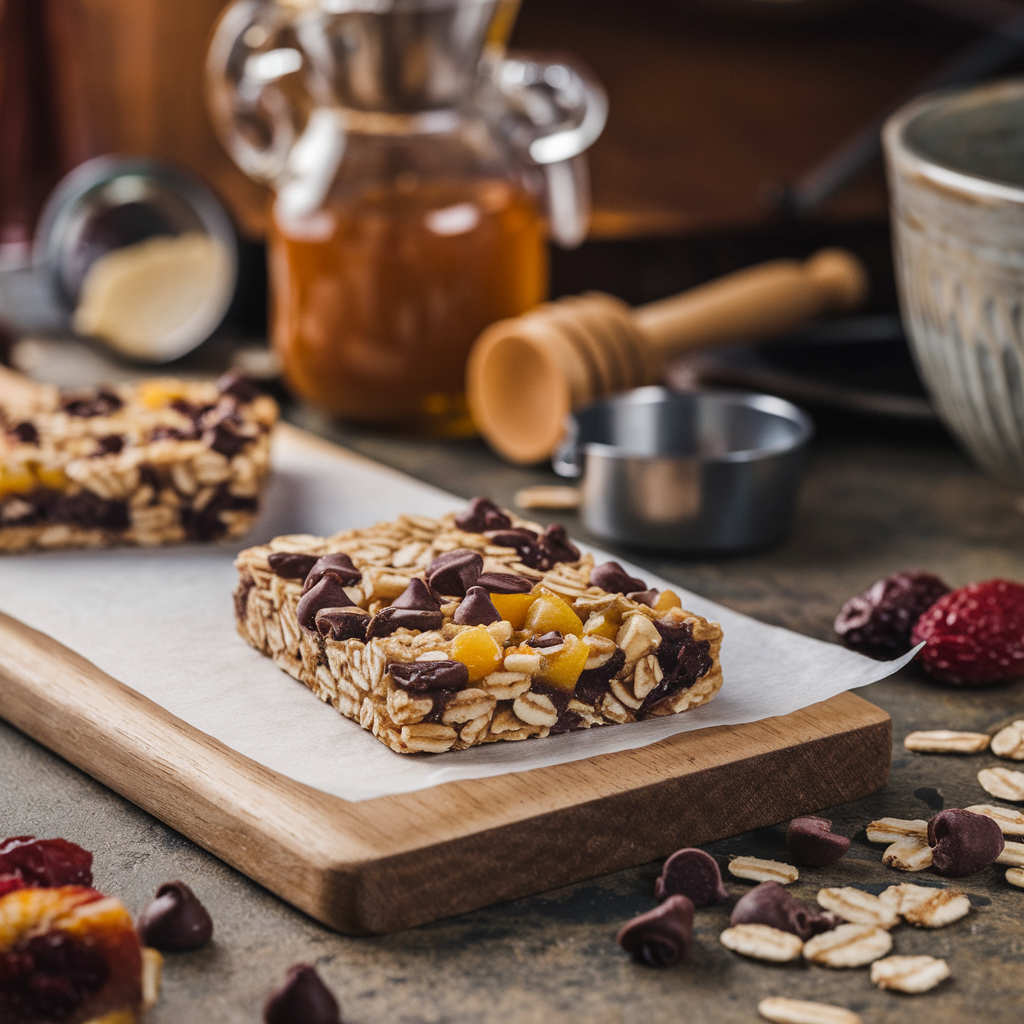
Making Homemade Clif Bars is simple, and you only need a few basic ingredients to get started. Here’s a rundown of the essential ingredients you’ll need:
- Oats – The foundation of most granola bar recipes, oats provide a hearty texture and complex carbohydrates that will keep you energized. Use rolled oats or quick oats depending on your preference.
- Nut Butters – Nut butters like almond butter or peanut butter add healthy fats and protein, making your energy bars satisfying and nutritious. They also help bind the ingredients together.
- Sweeteners – Honey, maple syrup, or agave syrup are great natural sweeteners for homemade Cliff Bars. These sweeteners not only provide a touch of sweetness but also help bind the ingredients.
- Dried Fruit – Add a fruity touch with ingredients like raisins, cranberries, apricots, or dates. Dried fruit adds natural sweetness and a chewy texture to the bars.
- Nuts and Seeds – Almonds, walnuts, cashews, sunflower seeds, or chia seeds are perfect additions for extra crunch and protein.
- Chocolate Chips or Cocoa Powder – For those who love a bit of chocolate in their Cliff Bars, chocolate chips or cocoa powder will give your bars a rich, indulgent flavor.
- Protein Powder (optional) – If you want to boost the protein content of your bars, you can add protein powder. This is especially useful if you’re looking to make a post-workout snack.
- Cinnamon and Salt – A pinch of cinnamon can elevate the flavor of your bars, and a little salt enhances the sweetness and brings out the flavor of the other ingredients.
How to Make Homemade Clif Bars: A Step-by-Step Guide
Now that you know what ingredients you’ll need, it’s time to get started with making your DIY Granola Bars. This simple recipe will yield about 12 bars, but feel free to adjust the quantities to suit your needs.
Ingredients:
- 2 cups of rolled oats
- 1/2 cup of nut butter (peanut butter, almond butter, or cashew butter)
- 1/2 cup of honey or maple syrup
- 1/4 cup of dried fruit (raisins, cranberries, apricots, or dates)
- 1/4 cup of mixed nuts and seeds (almonds, walnuts, sunflower seeds, chia seeds)
- 1/4 cup of chocolate chips or cocoa powder
- 1 scoop of protein powder (optional)
- 1 tsp of cinnamon
- 1/4 tsp of salt
Instructions:
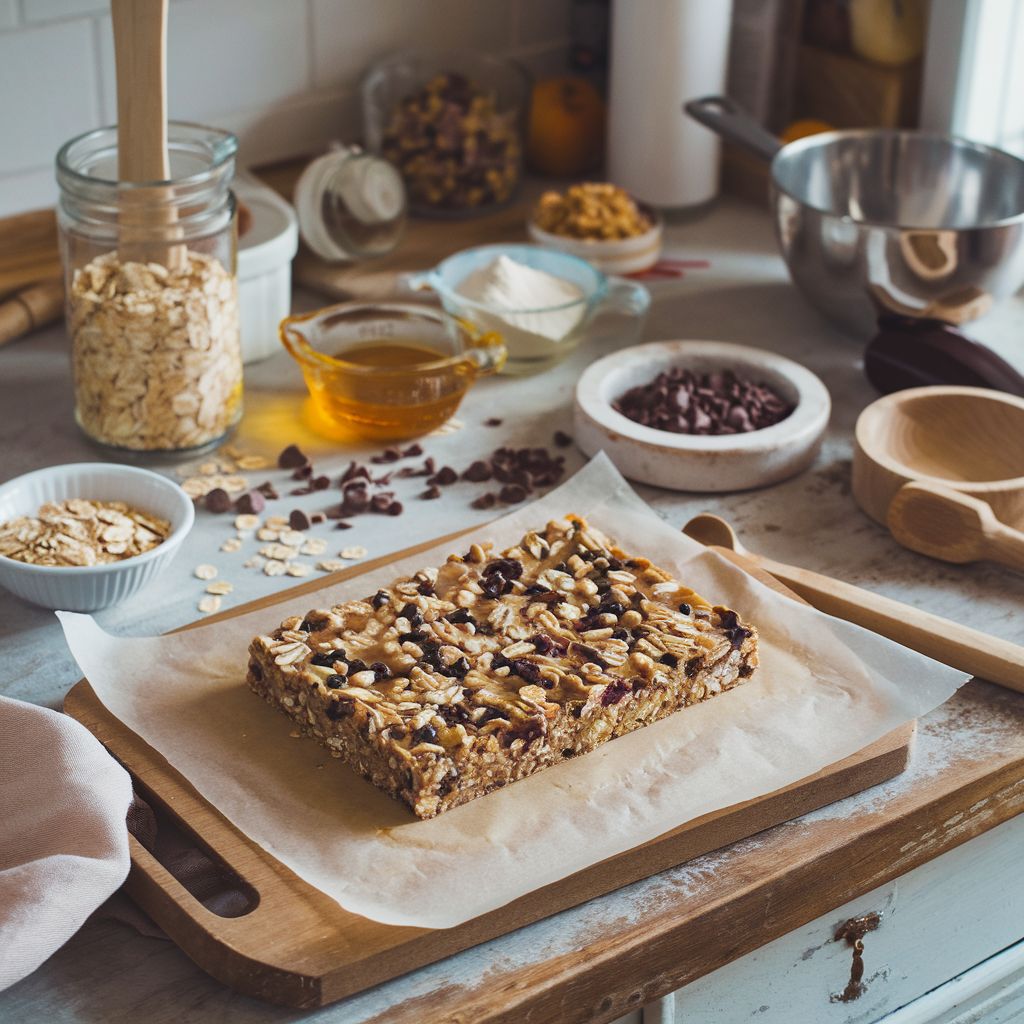
- Preheat the Oven: Start by preheating your oven to 350°F (175°C). Line a baking pan (about 8×8 inches) with parchment paper, ensuring that there’s enough overhang on the sides for easy removal later. Set aside.
- Mix Dry Ingredients: In a large mixing bowl, combine the oats, cinnamon, salt, protein powder (if using), dried fruit, nuts, seeds, and chocolate chips. Stir everything together to ensure an even distribution of ingredients.
- Mix Wet Ingredients: In a small saucepan, heat the nut butter and honey (or maple syrup) over low to medium heat. Stir constantly until the mixture becomes smooth and well combined, which should only take about 2-3 minutes.
- Combine Wet and Dry Ingredients: Pour the warm nut butter and honey mixture over the dry ingredients in the mixing bowl. Use a spatula to mix everything thoroughly, ensuring that all the dry ingredients are coated with the wet mixture. The consistency should be sticky and slightly thick.
- Press the Mixture into the Pan: Transfer the mixture into the prepared baking pan. Use the back of a spoon or your hands to firmly press the mixture into the pan, making sure it’s compact and even.
- Bake the Bars: Place the pan in the preheated oven and bake for about 15-20 minutes, or until the edges are golden brown and the bars have set. Keep an eye on them to prevent over-baking, as they can become dry.
- Cool and Slice: Once the bars are baked, remove them from the oven and allow them to cool completely in the pan. After they have cooled, lift the bars out of the pan using the parchment paper overhang. Slice them into 12 equal-sized bars using a sharp knife.
- Store and Enjoy: Store your Homemade Clif Bars in an airtight container at room temperature for up to a week, or keep them in the fridge for a longer shelf life. These bars also freeze well, making them perfect for meal prepping.

Customizing Your DIY Granola Bars
One of the best things about making your own Cliff Bars is the ability to customize the recipe to fit your preferences. Here are some ideas to get you started:
- Flavor Variations: Add spices like ginger, nutmeg, or vanilla extract for different flavor profiles. You can also experiment with coconut flakes or dried mango for tropical flair.
- Vegan Options: Use maple syrup instead of honey and choose a plant-based protein powder to make your bars vegan-friendly.
- Gluten-Free Options: Ensure that you are using certified gluten-free oats and double-check any other ingredients to guarantee they are gluten-free.
- Boost the Protein: If you’re looking to make these bars even more protein-packed, you can add extra protein powder, hemp seeds, or Greek yogurt.
- Sweets Lovers: Add a handful of chocolate chips, peanut butter chips, or a drizzle of melted dark chocolate on top of the bars for an indulgent treat.
The Benefits of Homemade Clif Bars
Making your own DIY Granola Bars has many benefits, not just in terms of taste, but also for your health and well-being:
- Control Over Ingredients: By making your own Clif Bars, you have complete control over what goes into the recipe. No more hidden preservatives or excess sugar—just wholesome, real ingredients.
- Cost-Effective: Store-bought energy bars can add up quickly, especially if you eat them regularly. Making your own bars is a much more affordable way to get your energy boost without breaking the bank.
- Tailor to Your Needs: Whether you’re looking for more protein, fewer carbs, or a nut-free option, you can adjust the recipe to meet your dietary needs.
- Satisfy Your Sweet Tooth: Homemade bars can be as sweet or savory as you want. Customize the sweetness level to your liking, ensuring that it’s perfect for your taste buds.
Conclusion: Enjoy Your Homemade Clif Bars
Homemade Cliff Bars or DIY Granola Bars are a perfect snack for anyone on the go. Not only are they packed with nutrients that keep you energized, but they also taste delicious and are easy to make. With just a few simple ingredients, you can create your own energy bars that are healthier, more affordable, and more customizable than store-bought options. Whether you’re preparing for a long hike, need a quick post-workout snack, or just want something sweet and satisfying, these Homemade Snacks will fuel your body and satisfy your cravings. Give this recipe a try and experience the joy of making your own Cliff Bars at home!


